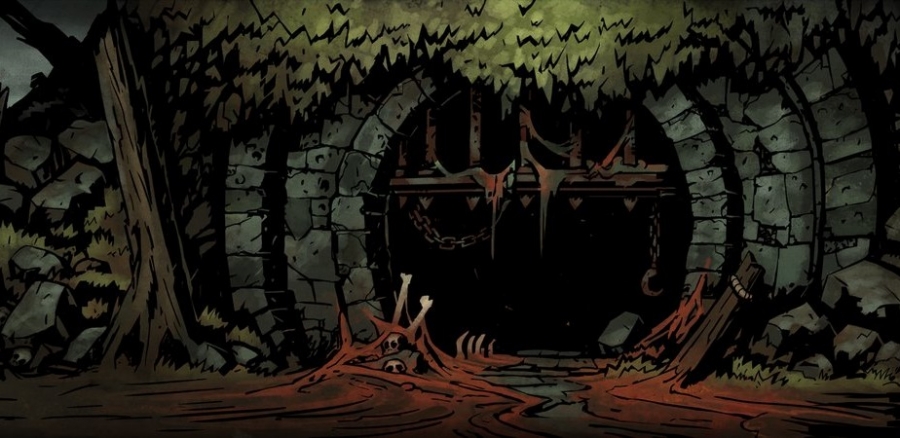
You can explore the Warrens after the Ruins and the Weald. It’s pretty ancient and mysterious place full of old corridors and monsters. The Ancestor put his experiments on beasts and humans in the Warrens. Nowadays results of these experiments wish to kill you and destroy your estate. Here you will encounter the Swinefolk who are terrible hybrids of swine and men. There are a lot of brigands, cultists and wild beasts in the Warrens as well.
This location offers you two bosses which you need kill to go further. Read our guide and you will easily beat the Warrens.
Tactic and strategy
Enemies here will try to inflict diseases on heroes and increase their stress. Monsters have very high resistance to blighting and relatively low resistance to bleeding. You will fight with hordes of small foes led by gigantic leaders. The Swinefolk are both beasts and humans so we suggest taking heroes with bonus damage to these types. You want to include in your party several characters:
- The Arbalest. This class can cooperate with the Houndmaster to mark and demolish monsters with a single shot. Focus backlines of enemies with the Arbalest’s skills to slay the most dangerous foes.
- The Bounty Hunter. This class also can mark monsters and deal additional damage to them. The Bounty Hunter is useful because of moving skills. Pull an enemy from backlines to the front and kill it there. This class deals bonus damage to humans.
- The Crusader. It’s a universal class for every dungeon. The Crusader can be a tank or a damage dealer. He has healing skills and can cure stress. Also, the Crusader makes additional damage to unholy foes which you can encounter in the Warrens too.
- The Grave Digger. This class has a good SPD and can quickly kill dangerous enemies. The Grave Digger is the best scout which is important in the Warrens. Dungeons here are complicated and they are full of traps.
- The Hellion. This class is useful for you because of bleeding skills and high damage to backlines. The Hellion will be your main damager. She can also stun enemies with YAWP! Increase her MAX HP and PROT and use as a tank.
- The Houndmaster. It’s the best hero for the Warrens at all. The Houndmaster can inflict bleed and mark enemies. Use his marking skills in cooperation with the Arbalest and the Bounty Hunter. This class also can reduce the stress of all teammates.
- The Jester. This class can support other heroes with good buffs. He is useful due to bleeding attacks and ability to rearrange enemy formation. Move powerful monsters from back slots with the Jester.
- The Vestal. Among with the Crusader it’s an universal class that suits every location. The Vestal will heal all characters and help your party to survive. You can replace her with the Occultist if you wish to have more utility.
So in the Warrens, you should use bleeding attacks and skills to reduce stress. Take good scouts which can explore whole dungeon at once. Increase resistances to disease so far as monsters here are infected. You will fight with beasts, humans and unholy foes. Try to slay small monsters at first, because they spread diseases. Then remove enemies from stress attacks. The most dangerous monster here is the Swinetaur that cast his skills from the backline.
We will tell you about enemies later. Now let’s discover what provisions you should take to the Warrens:
- Herbs. Use them for Dinner Cart, Makeshift Table and Moonshine Barrel curios.
- Bandages. Use them for Rack of Blades curio and healing wounds.
- Holy water. Use it for Eldritch Altar and Pile of Bones curios.
- Torches. Use them for Pile of scrolls curio.
Your standard shopping list will look like this: 6 Torches, 8 food portions, 2 Shovels, Skeleton key, Bandag, Herbs and a Holy water.
Enemies
The Warrens are occupied by awful hybrids of swine and men. Here you can encounter common bandits or beasts, but we will focus on specific enemies of this location:
- Swine Chopper is a pretty tough foe with 21 HP and bleeding or stunning abilities.
- Swine Slasher is a weal monster with only 5 HP and one damaging skill.
- Swine Wretch is also a weak enemy with 8 HP and chance to inflict a disease.
- Swine Drummer is a fast debuffer who can increase stress, decrease DODGE and mark.
- Carrion Eater is a shaky enemy with 9 HP and blighting skill with increased damage.
- Large Carrion Eater has 48 HP, can reduce DMG, ACC, and CRIT as well as mark foes.
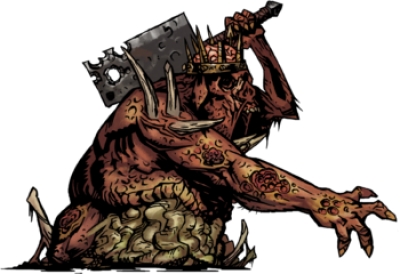
- Swinetaur is the toughest enemy with 65 HP and high damage along with stun skills.
- Swine Skiver is the fastest for with 9 SPD, stunning and blighting abilities.
You will face the Swine Prince and the Flesh who are bosses here. Guides for them you can check at the «Boss Guide» article. Note that the Flesh unlike other enemies in the Warrens has an eldritch type. So you can take the Occultist to deal additional damage to this boss.
Curios
In this section we also will describe only unique for the Warrens curios:
- Bone Altar. Provides a buff to DMG, ACC, and CRIT as well as cures status effects.
- Dinner Cart. Provides 3 portions of food and gold or trinket when using Herbs on it.
- Makeshift Dining Table. Provides 2 portions of food and gold or trinket when using Herbs on it.
- Moonshine Barrel. Provides a debuff to DMG when using Herbs water on it.
- Occult Scrawlings. Provides a debuff to DMG when using Holy water on it.
- Pile of Bones. Provides 2 items of loot when using Holy Water on it.
- Pile of Scrolls. Removes one bad quirk when using Torch on it.
- Rack of Blades. Provides 1 portion of food and gold or gems when using Bandage on it.
- Sacrificial Stone. Can provide different effects with 50% chance of increasing stress.
You can use certain items on all curios except Bone Altar and Sacrificial Stone. When you use a correct item you will get a good effect or in case of Occult Scrawlings a bad effect. If you choose not to use item curios can inflict different effects with a different chance. Usually, there are 3 to 5 possible effects including an option of no effect. The game is a pretty tough so you will often receive bad effects when there is a choice.
Plan your expedition carefully and you will for sure finish the Warrens successfully.